Logga in
Artikel: How to Install a Graphics Card: Remove, Seat and Power It
How to Install a Graphics Card: Remove, Seat and Power It

Short answer: Shut the PC down and flip the power supply switch to off, leaving the PC plugged into the wall. Unplug the old card's power cables, remove its bracket screws, release the PCIe latch and lift it out. Press the new card into the top x16 slot until the latch clicks, screw it in, connect power and install drivers.
Swapping a graphics card is one of the easiest upgrades you can make. The hands-on part is quick. Most of the work happens before you open the case: making sure the new card fits and that your power supply can feed it. If you haven't picked a card yet, start with how to choose a GPU upgrade and come back here when it arrives.
Before you start: will it fit and can you power it?
Three quick checks save you a return:
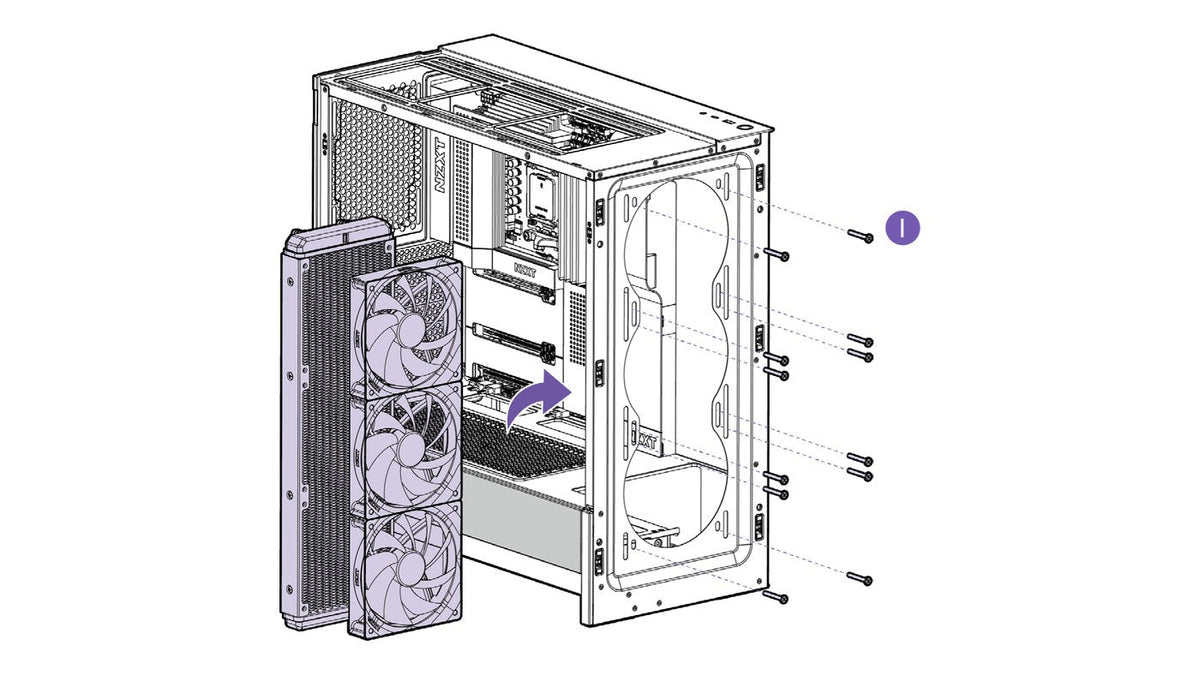
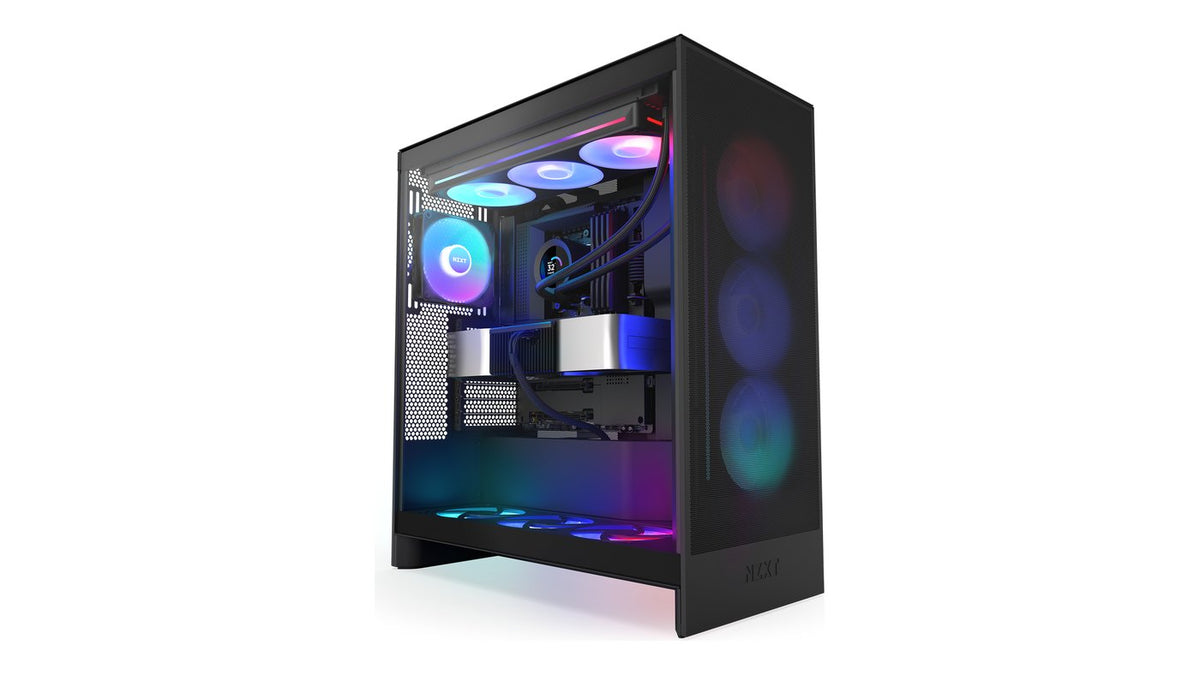
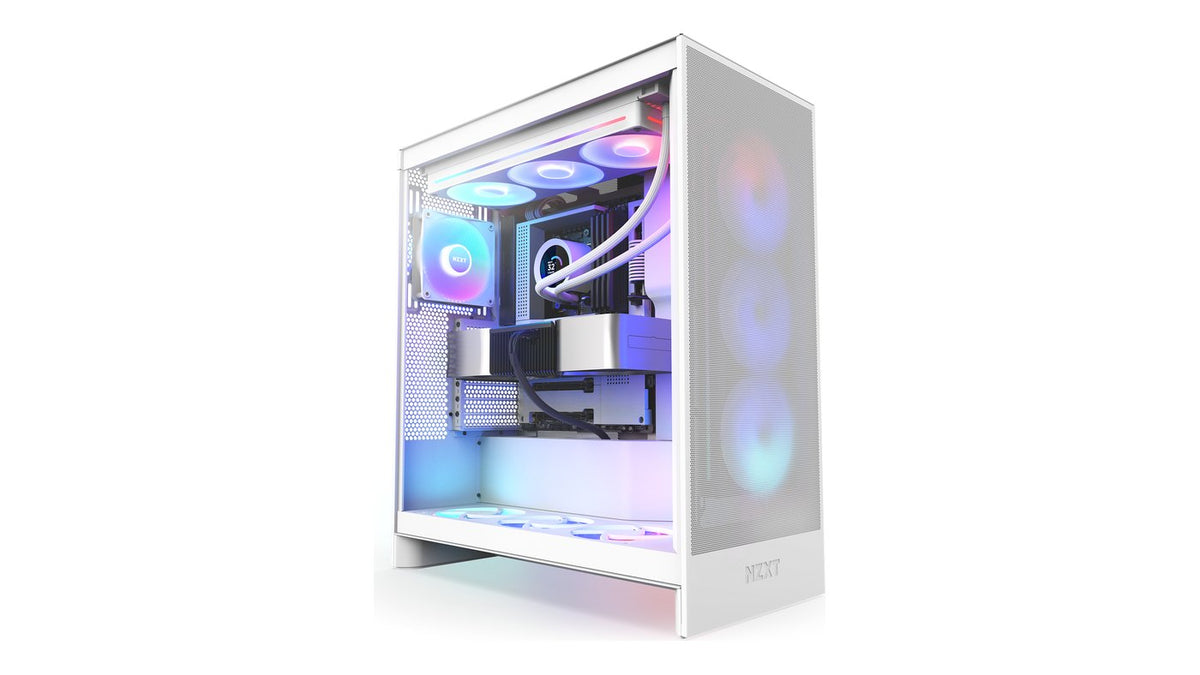
- Length. Your case spec sheet lists a maximum GPU length. It usually drops when a front radiator is installed. The H9 Flow RGB takes cards up to 459mm with front fans or 410mm with a front radiator and fans.
- Wattage. Check the card's recommended power supply against your PSU's rating. Going above the recommendation is fine and keeps the PSU cooler and quieter.
- Connectors. Most performance cards need supplementary power from the PSU, either 6+2-pin PCIe cables or a single 16-pin 12V-2x6 cable. Make sure your PSU has the ones your card uses.
Here are the minimum power supply recommendations for some current cards, taken from the NVIDIA, AMD and Intel product pages as of November 2025:
| Graphics card | Minimum recommended PSU |
|---|---|
| GeForce RTX 5090 | 1000W |
| GeForce RTX 5080 | 850W |
| GeForce RTX 5070 Ti | 750W |
| GeForce RTX 5070 | 650W |
| GeForce RTX 5060 Ti | 600W |
| GeForce RTX 5060 | 550W |
| Radeon RX 9070 XT | 750W |
| Radeon RX 9070 | 650W |
| Radeon RX 9060 XT | 450W |
| Intel Arc B580 | 600W |
These assume a typical gaming system. High-end desktop platforms like Threadripper or Xeon can need more.
Step 1: Power down and ground yourself
Shut down Windows, then flip the switch on the back of the power supply to the O (off) position. Don't unplug the PC from the wall.
Work on a flat surface and avoid standing on carpet or linoleum tile, both of which build up static. Touch the metal of the case or the power supply every so often while you work to discharge any static on your body.
Step 2: Remove the old card
Start with the power cables. Each connector has a locking tab: squeeze it and pull the cable straight out of the card. If you have a modular power supply, check the other end of each cable while you're in there. A loose connection at the PSU end causes the same problems as a loose one at the card.
Next, remove the screws holding the card's bracket to the back of the case. Depending on the size of the card that's one to three screws. Some cases, like the H5 Flow, have a cover plate over the expansion slots that you need to loosen or remove first.

Finally, release the locking latch at the end of the PCIe slot and lift the card out. If the latch won't move, push the card down into the slot first. The tab on the card can hold the latch in place.
Step 3: Check the slot before the new card goes in
With the slot empty, look at it and at the gold edge connector on the new card. You're checking for damage or debris. Some pins on the edge connector are shorter than others. That's part of the PCIe specification and completely normal. A pin that looks torn or bent is not.

Use the top full-length x16 slot. Not every x16-sized slot runs at full speed. On many motherboards only the top one gets all 16 lanes, while the lower slots may run at x4, which can hold back a fast card. Your motherboard manual lists the speed of each slot.
Step 4: Install the new card
Make sure the slot's locking latch is open before you line the card up. Pushing a card into a closed latch can damage it.

Line the card's bracket up with the open expansion slot at the back of the case and the edge connector with the PCIe slot. Press down evenly across the top of the card until the latch clicks shut and the card sits flat. Then put the bracket screws back in and refit the cover plate if your case has one.
Step 5: Connect power
Plug in every power connector the card has, pushing each one in until its locking tab clicks. A card that's missing one connector won't run properly, if it runs at all.
Use only the cables that came with your power supply. Cables from a different PSU generation can look identical and still be wired differently: NZXT's NP and PA model supplies are not pin compatible. Mixing them can damage your system, start a fire or cause serious injury. Our guide to PSU cable compatibility covers how to tell which you have and how the 12V-2x6 cable fits in.
Step 6: Plug in your monitor and install drivers
Connect your display cable to the outputs on the new graphics card, not to the motherboard's ports. Plugging into the motherboard instead is a common cause of a black screen after an upgrade. Our no display guide covers it in detail.
Flip the power supply back to I and boot up. Once you're in Windows, download the latest driver for your card from NVIDIA, AMD or Intel and install it. If you're switching brands or the new card misbehaves, do a clean driver install with DDU to clear out the old driver completely.
Something wrong after the swap?
A card that isn't fully seated causes a surprising range of problems: no display, heavy visual distortion, low frame rates and crashes. Before you assume the new card is faulty, power down and repeat steps 2 to 5. If the picture is still breaking up after a re-seat and a clean driver install, work through our GPU artifacting guide.
Frequently asked questions
Should I unplug my PC from the wall before installing a graphics card?
No. Switch the power supply off at the back and leave the power cable plugged in. That's the process NZXT's support team recommends for working inside a PC.
Will upgrading the graphics card affect my NZXT prebuilt PC's warranty?
It can. NZXT prebuilt PCs come with a 2-year limited warranty that doesn't cover issues caused by upgrading, adding or changing components. We recommend waiting until the warranty period ends before swapping parts.
Can I use a bigger power supply than the card recommends?
Yes. A PSU that runs well below its rating is under less stress, which helps with temperatures, noise and lifespan. If a card recommends 800W, a 1000W or 1200W unit is a sensible choice.
Can I reuse the PCIe cables from my old power supply?
Only if both power supplies are in the same cable group. NZXT's NP models, PA C Series models and Gold Core models each use different cables at the PSU end, so a cable that fits can still be wired wrong. When in doubt, use the cables that came in the box.
Do I need to reinstall Windows after changing graphics cards?
No. Install the new card's driver and you're done. A clean driver install with DDU is worth doing if you're moving between NVIDIA, AMD and Intel.
Can I mount my new card vertically?
Only in a case built for it and with the right riser cable. Our vertical GPU mounting guide covers which NZXT cases support it.
Need a hand?
If the new card isn't detected or something doesn't look right, NZXT Support can help you track it down.